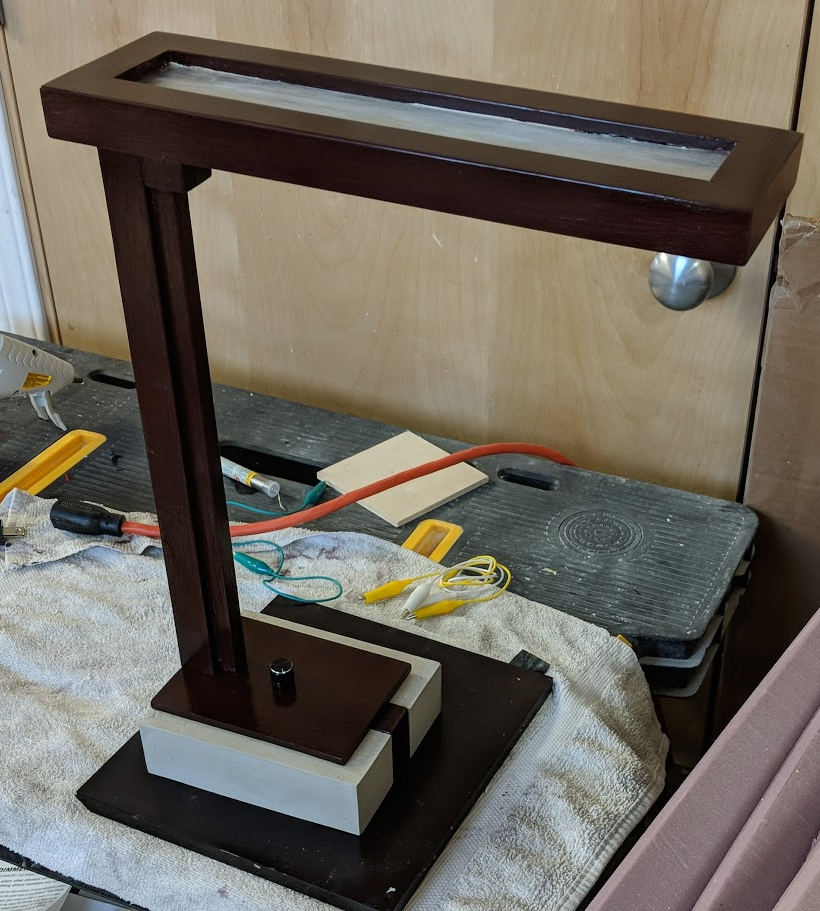
I’ve been trying to draw up some plans for building a lamp for my nightstand for quite a while, but couldn’t quite come up with something that looks reasonably sleep while still being able to actually build it with the tools at my disposal.
Finally I came up with a design that seemed workable. Some things went well on this project, but others did not go as hoped…
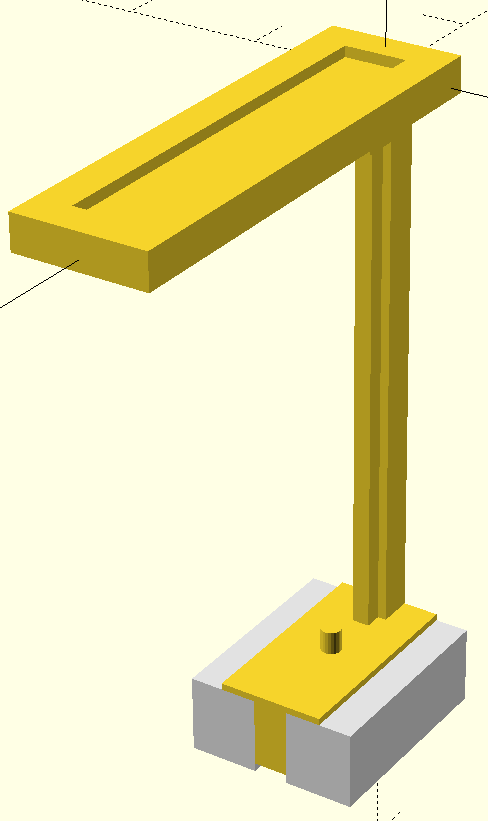 A couple of requirements for the design were:
- You don’t want to accidentally knock the lamp over when you are fumbling to turn it on at 3am at night, so it must be hard to tip.
- Design something that takes advantage of LED’s more compact form factor, rather than just stick an LED light bulb into a traditional shape.
- It should be possible to read in bed without disturbing your partner. So light distribution and the ability to dim the light was important.
- The wiring within the lamp should be concealed, for better looks.
The Electrical Part of the Build
LED Light Strip
I ended up buying this LED light strip. I wanted warm-white light. But since warm-white LEDs are usually dimmer than their cool white counterparts I was looking for a strip that has a reasonably high output/has a reasonably high number of LEDs per foot. Also, this strip was rated as dimmable.
Small 12V Dimmer
Also, I found this 12V dimmer that has a really small footprint. The small footprint enabled a design that allowed me to go with a fairly simple concrete base. With USD 30 the dimmer is a little pricey, but I couldn’t find anything that was similarly small. This dimmer seems to be targeted mainly towards marine applications, and for everything with the word “marine” in the description, you immediately pay a higher price. Just ask anyone who owns a boat…
Connectors, Wiring, Power Supply
Trying to avoid having to deal with 110V electricity in my build, I also ordered these DC power jacks and one of these 12V 2A power supplies. — The LED strip is rated as 12V, 2.6W/foot, so given my plans 2A should be more than enough. Note that the tip on the power supply matches these DC power jacks.
I also had some 20awg wire cord similar to this one, but any wire would do. — If you want to over-engineer things, go to a voltage drop calculator and you’ll see that with maybe 3ft of internal wiring inside the lamp (which is a very generous estimate), your voltage drop will be less than 1%. So yes, 20awg is more than adequate for this project.
Building the Light Boxes
The first thing I built were the light boxes for the lamp. From another project I had a piece of 12″x12″ thin aluminum sheet. I think the thickness might have been 1/16″ or less. Aluminum is fairly soft and a sheet that thin can either be cut with some old scissors that you don’t care about or any kind of metal shear that might be used for cutting sheet metal.
Aluminum is a very soft metal and in most cases you’ll be able to use woodworking tools if you have to.
Also, I used 150 grit sandpaper and WD40 to get a “brushed aluminum” look. The trick is to make sure to get long and even strokes. – I just clamped down the sheet with a piece of wood, and then used that piece of wood as a guide for my sanding block. — For no apparent reason I did it on both sides.
So after cutting the aluminum sheet and sticking the LED strips to it, I ended up with this:
You can see that the aluminum sheet serves as a nice heat sink for the LED strip. –I’ve already started soldering wires to the light strip: If you look closely, you see that the aluminum underneath the wires is a little darker. That’s some double sided VHB tape. The tape serves two purposes:
- It holds the wires in place. Which makes it much easier to solder them onto the small leads on the LED strip.
- VHB tape is non-conductive. This makes it easier to ensure you are not shorting any of the wires to the aluminum sheet.
I finished the light box using a 0.25″ balsa stick that I got from a hobby store and cut into pieces. The front of the light box was made out of 1/8″ thick translucent acrylic plexiglass that I jut with an electric jigsaw:
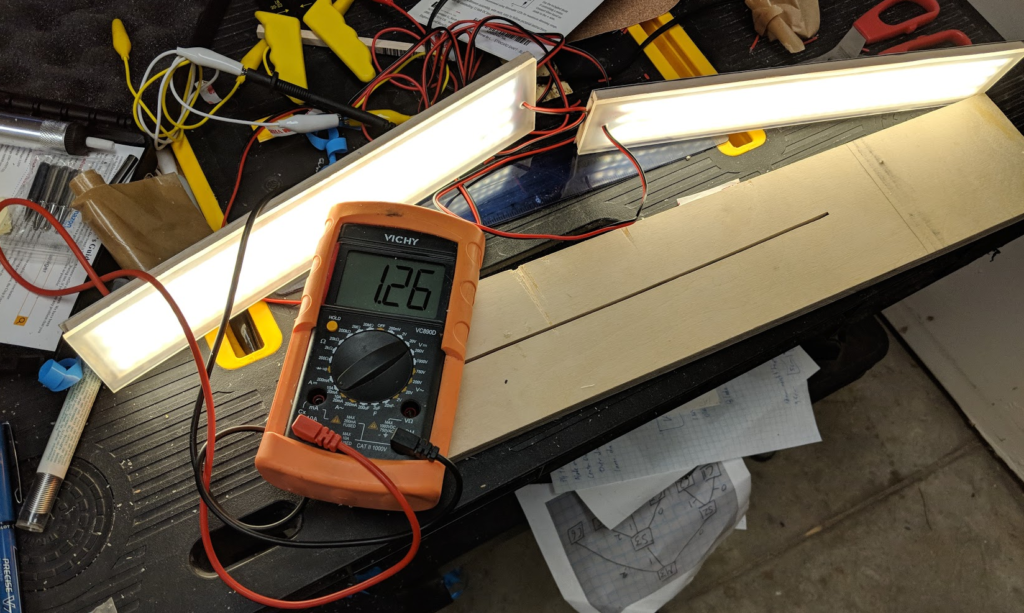
As you can see, I was making TWO lamps (since we have two nightstands and my husband wanted one as well…). — And we are drawing 1.26A
Completing the Top
A store close by sells 1″x1″ mouldings square, which is basically a wood profile that is 1″x1″ and about 8ft long. — The plan was to build a frame for the light boxes and route out a channel to hold the light box.
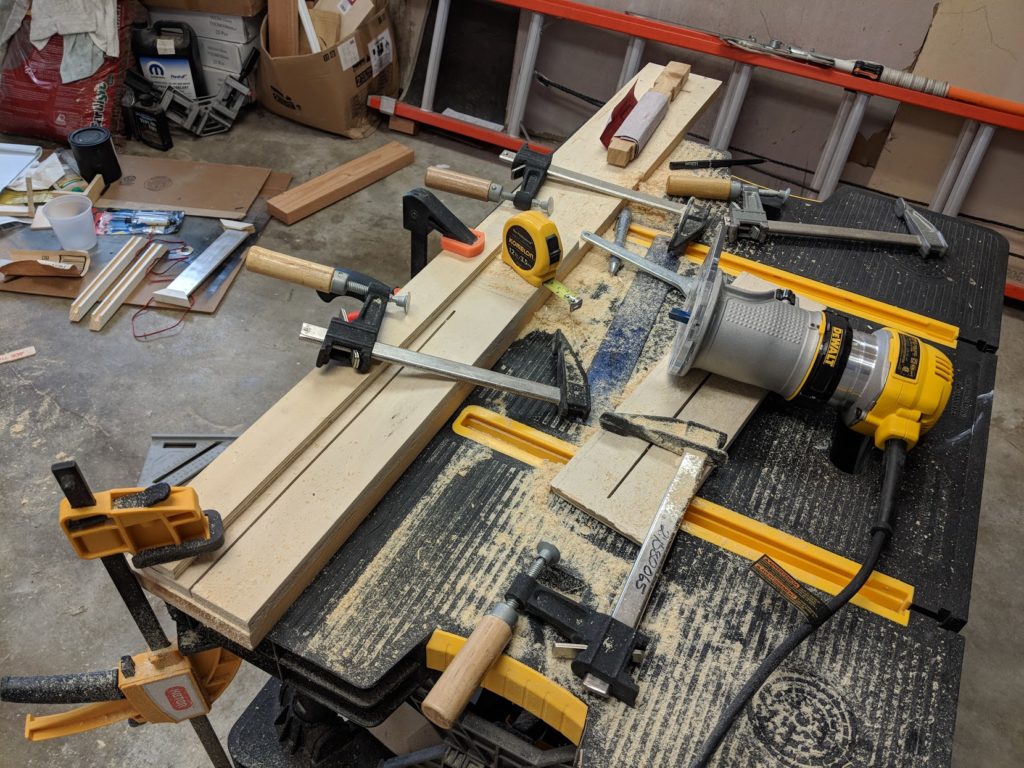
The routing turned out to be the most challenging part of the build: I do not have a table that I can mount my router to. So i rigged up a jig with a few pieces of wood scraps:
Unfortunately I did not take a picture with the moulding square clamped in. But the moulding square would go to the RHS of that jig and the second, shorter piece of scrap plywood on top of the first layer would serve as a guide for the router’s base to move along, as you route out the channel.
Getting that all set up properly turned out to be quite challenging and I ruined a few pieces of moulding square in the process. — Eventually I got something that I deemed “good enough”, but this was one of the two parts of the project that did not go as well as I had hoped.
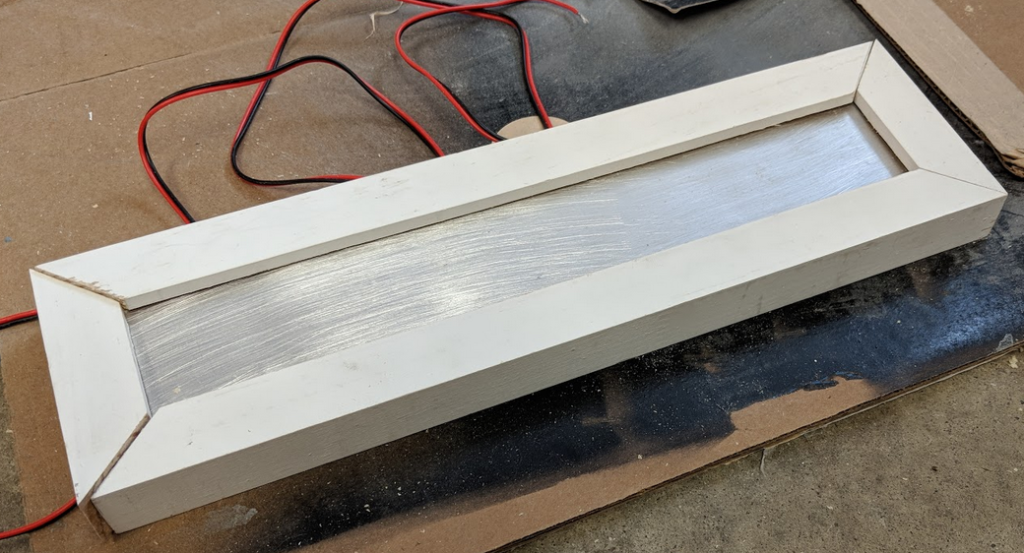
But eventually I got some workable pieces:
Concrete Lamp Base
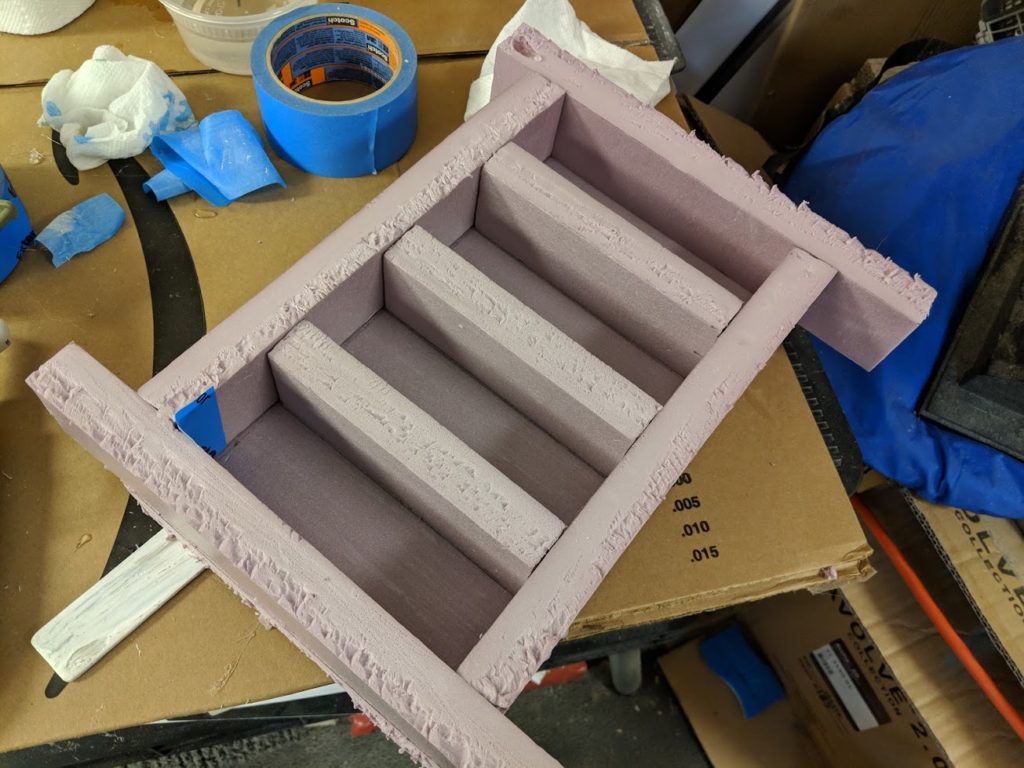
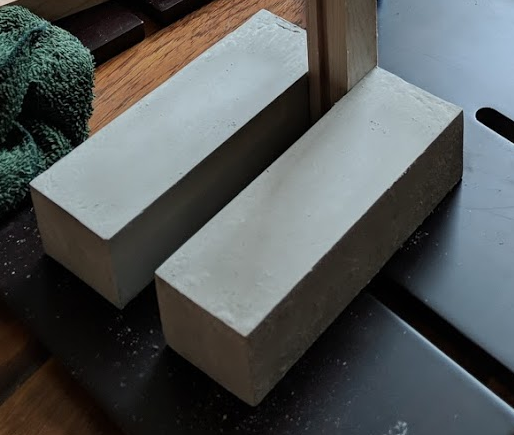
I decided to make the base of the lamp from concrete and to turn the concrete into a part of the design and not hide it. I had a leftover scrap piece from a 2’x2′ XPS foam board that I used to build a mold from:
I used “Rocktite Expansion Cement”, which actually turned out to be a good choice because you can mix it to a consistency that like batter for making crepes, and it sets quickly.
A few lessons learnt:
- Buy enough concrete. — I had to improvise and make 2 out of the 4 pieces I needed a little smaller. (So one lamp came out slightly taller than the other one).
- Concrete heats up when it cures. So building molds out of XPS foam insulation might not have been the best idea. During curing it got quite warm but luckily not warm enough to melt the XPS foam.
- When in doubt err on the soupy side when mixing Rocktite.
- Sanding concrete is a bitch…
What I ended up with looked reasonably well once I had it out of the mold. — In the following picture you can see how things are coming together, (and how I went about concealing wires. — With another routed channel):
Finishing Up The Woodworking
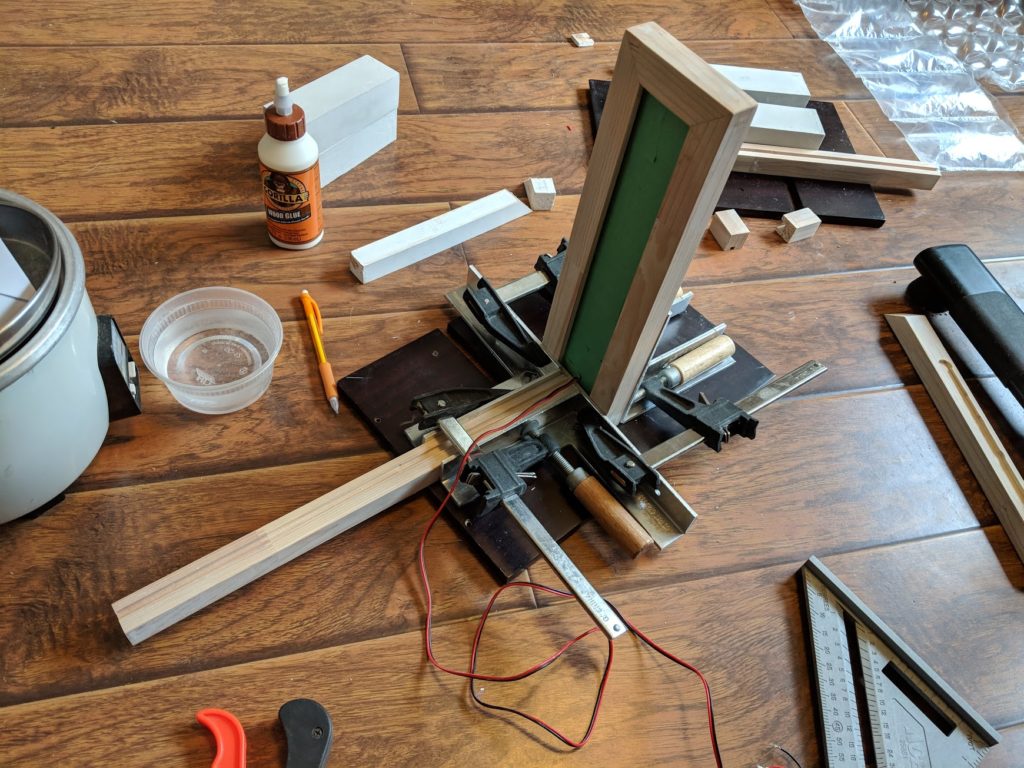
Next I fastened the stem to the lamp head. — The trick is to make sure you get your angles right. — That’s why I went over-board with all the right angle jigs, of which i used a total of four:
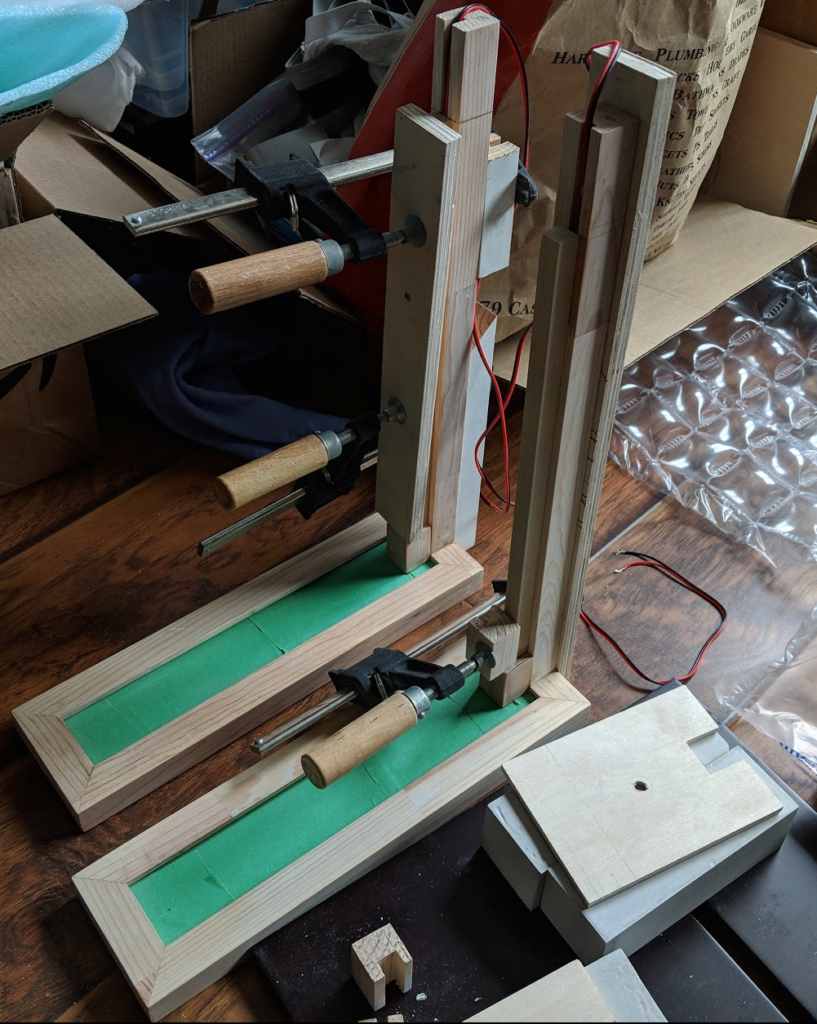
Some more pieces of wood, and some more clamping later we get all of this:
In case you are wondering: Yes, the masking tape went on the light box before I put it into the wooden frame.
Finishing — Or Where This Project Goes Wrong
I usually finish my woodworking projects with milk paint and then coat with water-based wipe-on polyurethane. But I wanted to try something new. So I got a can of this brush on paint that I applied after priming.
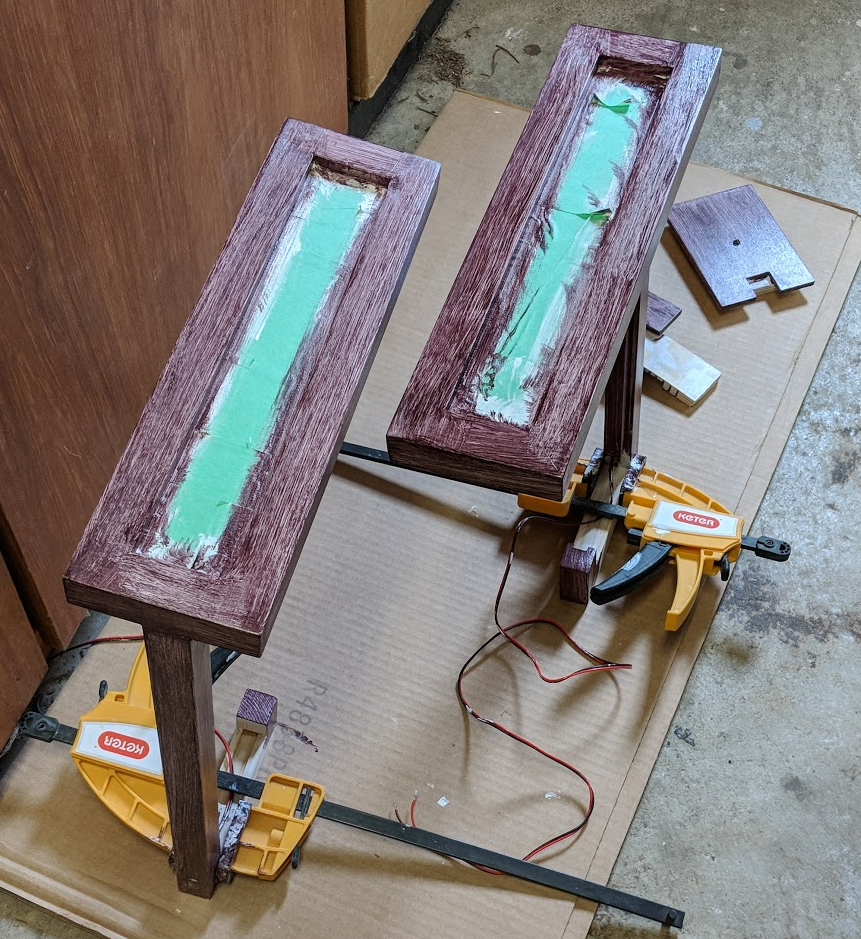
One golden rule of painting is “do not apply to much paint in a single coat”. — Not sure if I over-did it or if I used the wrong kind of brush, but after the first coat I got something that looked truly awful:
Luckily I had some unused foam-brushes lying around, so I applied a few more coats using foam brushes, and still got a finish that looked acceptable, but admittedly not as good as I would like it to have come out:
The End — Lessons Learnt
The lamps are sitting on our nightstands and we use them daily. Functionality wise they turned out great. The base is really heavy and you definitely won’t tip them over by accident. The dimmer worked out well and the fact that they shine light only towards the bottom also means they do well w.r.t. not disturbing your partner when you want to read in bed. Unlike your typical nightstand light that you turn on by pulling on a little chain that hangs from the lamp shade or by rotating a switch that is part of the lamp’s power cord, the on-switch on these is very easy to find in the dark and to operate.
But I cringe every time I have a close look at the finish. — I think if I were to do this project again, I would spray-paint all the wooden parts piano-black. I’ve had good luck finishing projects with spray paint in the past. Also I would probably try to come up with a design for the frame around the light box that doesn’t involve routing that goes beyond what I can do well with the equipment at my disposal.
However, it is all about learning new things. So I am not likely to redo exactly the same project. But at some point maybe someone needs a lamp for a desk and I’ll see if I can do better.

